
Soil Testing
The UF/IFAS Extension Soil Testing Laboratory can test your soil and provide a detailed analysis.
Why Soil Testing Is Important
Good crop production often requires the application of lime and fertilizer. Soil testing enables you to find out the makeup of your soil and helps you determine how much lime and fertilizer you need to apply.
What to Know About Your Soil
To find out what you need to do to improve your soil's quality, you should know each of the following attributes of the soil:
- Current pH levels of your soil.
- Fertility levels of the principal nutrients.
- Type and quantity of lime your soil needs.
- Nutrients need to be added to your soil as fertilizer.
- Amount of fertilizer your crop and soil needs.
If you do not have this information, a soil test may help.
Limitations of Soil Testing
Soil testing can let you know where your soil needs treatment or improvement. However, a soil test cannot do any of the following:
- Tell you which crop to grow.
- Prevent poor crops caused by drought, disease, insects, too much water, or other problems.
- Substitute for proper cultural practices.
- Replace good management.
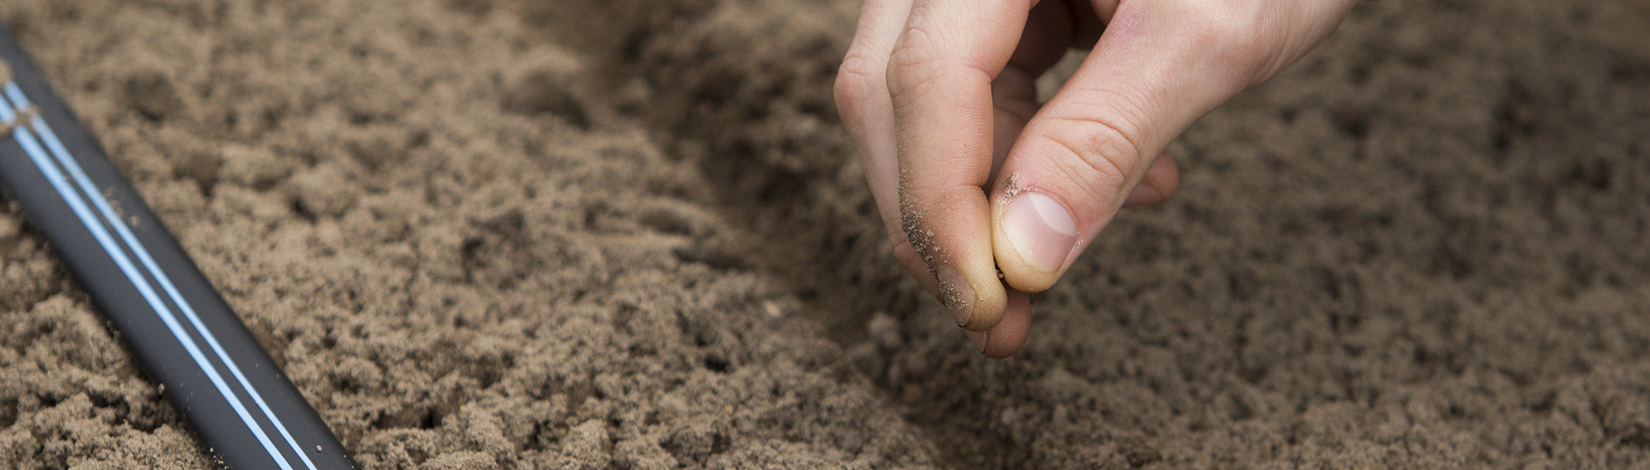
How to Take a Soil Sample
Keep in mind that soil test results generally take a couple of weeks to arrive back from the lab. Lime may need up to six months to produce the full effect in raising the soil pH. Be sure to send samples to the lab well before it's time to fertilize so that you can use the results to determine what kinds of fertilizer to buy.
Before following these instructions, contact your county Extension agent for complete information.
- Divide your farm into fields or areas for sampling. If you have areas with different crop growth, soil color, or lime or fertilizer histories, take a sample from each area. Keep the samples separated.
- Collect samples that provide a general example of the field or area sampled.
- Do not sample areas that are too small to be fertilized or limed separately. Do not sample unusual areas, wet spots, feeding areas, burn piles, old fence rows, sand boils, and other problem areas.
- Use a proper sampling tool, such as a sampling tube or auger. If it is necessary to use a shovel or trowel, dig a 6-inch-deep V-shaped hole in the soil. Slice a 1-inch slab off one side of the hole, and lift out the slab. For the sample, save a 1-inch-wide strip of soil from the center of the slab.
- Use a sampling tube to take a 6-inch-deep core of soil from at least fifteen spots in each field or area to be tested. Sample lawns only to a 3-inch depth. Mix the cores from one field or area. Put a pint of the mixed soil in a soil sample bag.
- Identify the samples by letter or number. Make a sketch or record of some kind so you will know which sample came from which field or area.
- Fill out the appropriate information sheets and submission forms. These forms are available at your county Extension office and the Extension Soil Testing Laboratory website. Include these forms and payment when mailing the samples.
- Send samples to the laboratory for analysis.
- Consult with your county Extension agent if you need help interpreting the test results or fertilization recommendations.
- Follow the recommendations!
Adapted from:
Soil Testing (Circular 239) by Gerald Kidder and R.D.Rhue. Published by: Soil and Water Science Department (rev. 9/2003)
What We Can Help With
 Agriculture
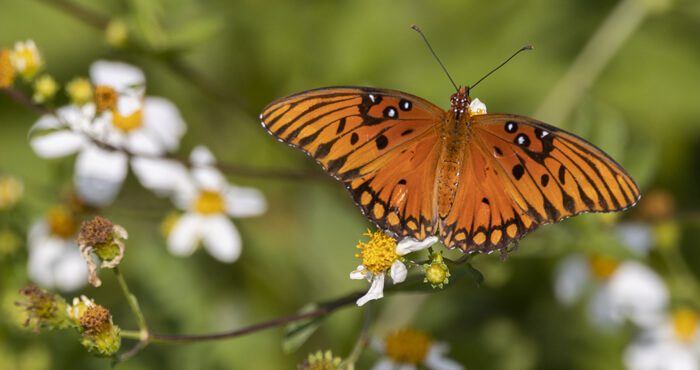 Natural Resources
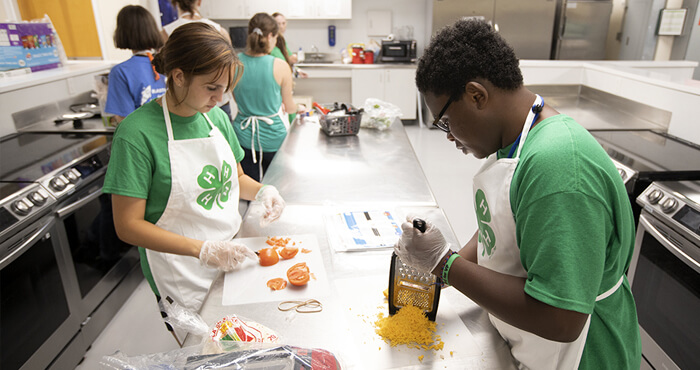 4-H Youth Development
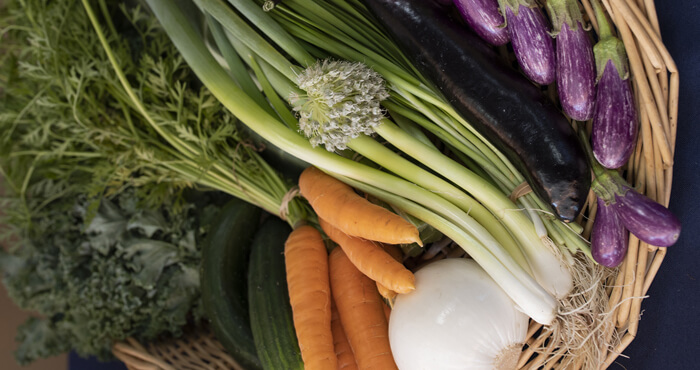
.jpg) Lawn & Garden
Lawn & Garden
 Family Resources
.jpg) Learning Opportunities
Learning Opportunities
RESOURCES
UF/IFAS Publications
- Agribusiness
- Agricultural Safety
- Agronomy
- Crops
- Florida Forage Handbook
- Fruits and Vegetables
- Livestock and Poultry
- Nurseries and Greenhouses
- Soil and Water
- Sustainable Agriculture
- Weed Management in Field Crops and Pasture Grasses (WMG)
State & Federal Agencies
- Florida Department of Agriculture and Consumer Services (FDACS)
- Fish and Wildlife Research Institute--Florida Fish and Wildlife Conservation Commission
- Florida Department of Environmental Protection
- South Florida Information Access (SOFIA)—U.S. Geological Survey
- U.S. Department of Agriculture (USDA)
- U.S. Forest Service--USDA
- U.S. Environmental Protection Agency (EPA)
- U.S. Fish & Wildlife Service
- U.S. Geological Survey (USGS)